
 Wow, this post has been a long time coming! I've actually been working on this post for a while, and nearly gave up because it's taken so long. But I did want to share a more complete tutorial for the blue jean backpack. This is another backpack I made for charity, and I took photos of the steps this time! Disclaimer: I've worked on this post in such fits and starts, please let me know if I've left out a step or if something is unclear!
To make this backpack, you will need an adult sized pair of jeans, a little fabric, a zipper, and something to use for straps. The exact measurements will depend on the size jeans you use, so read through the tutorial to see how much you will need. Theoretically, you could get two backpacks out of one pair of jeans.
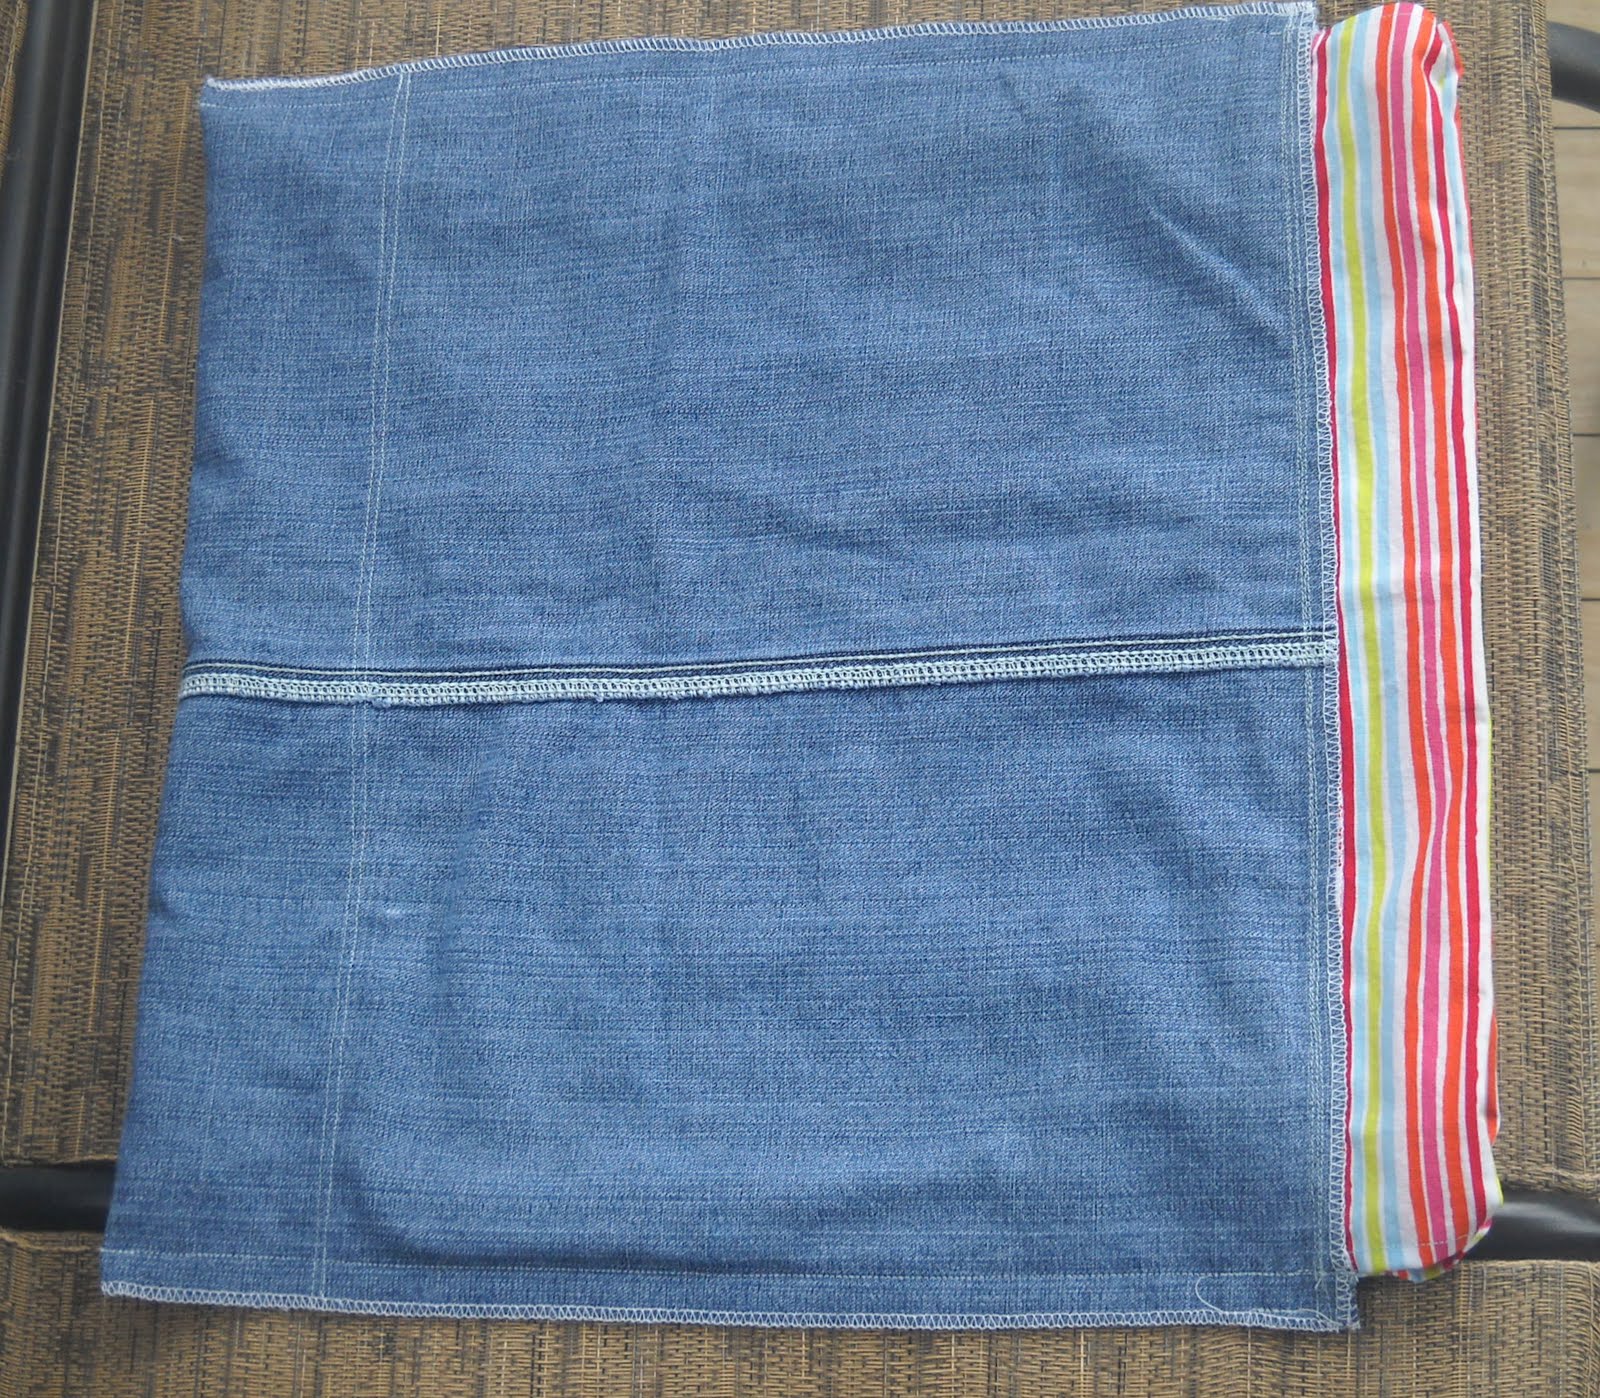
Here you see the jeans, with one leg marked for cutting. I cut off one hem and laid the leg out flat, with the fold at the side seam. I measured over from the fold to cut the straightest, largest rectangle possible. If your jeans are smaller and you really need the room, you can take out the hem stitching and press it flat for a little more fabric (instead of cutting off the hem). My finished rectangle of fabric, once laid flat, was 17" x 30". The rectangle will be folded in half, and the fold will form the bottom of the backpack.
 Then, cut off one of the back pockets. Instead of taking out the stitching, it's much easier just to cut around it. Leave a little extra fabric for fraying, if you like that look.
 Then cut your other pieces from fabric: one piece for the big front pocket, this one was 17" x 12"; and 2 casings, these were 17" x 6". Note that your pocket and casings should be the same width as your rectangle. You'll also need a zipper. Here are all the pieces, laid out as they will be assembled. (You will notice that my zipper is too long - that's okay. It will be cut off.)
 First, stitch one side of the zipper to the top of the pocket, then flip up and topstitch. If your zipper is too long, line up one end with the edge of the fabric, and we'll cut off the other end later. You'll notice that my zipper is a separating jacket zipper, so I had to cut off the bottom end. Just using what I have on hand, here!
 Pin jeans pocket in center of large fabric pocket and stitch around the sides and bottom, following the original stitching lines.
 Place pocket assembly on one end of your denim rectangle. Pin in place at top and bottom.
 Turn under the bottom edge of the pocket and make a couple of rows of topstitching, so it will be nice and sturdy. The sides of your pocket will be sewn into the side seams of the backpack, so don't worry about them right now.
 Now stitch the top edge of the zipper to the top edge of the backpack. If your zipper is too long, like mine, carefully stitch over the end of the zipper within the side seam allowance. Cut even with the edge of the fabric.
Now, prepare your casings for the drawstring at the top of the bag. Make a small hem on each short side of your rectangles. Fold the casing in half, and line up the raw edges with one of the top edges of your backpack. Be sure to center it - you should have the seam allowance of the backpack extending past the hemmed edge of the casing on both sides. Sew the seam and finish the raw edges. Flip up the casing and topstitch. Repeat for the other casing, at the other top edge of the backpack.

Measure your strap/drawstring. I am using ribbon here; you may use any kind of sturdy ribbon or trim, or make straps out of fabric. You will need one piece for each side, and each piece needs to be twice as long as the measurement across the top of the backpack and down the side. Add just a smidge for a seam allowance. In my case, each piece is about 66" long.

Run your ribbons through the casings for the drawstring, with the ends of one coming out on the left side, and the other coming out the right side. Take the ends and baste near the bottom corners, so that they will be attached in your side seam.

Now sew your side seams, stitching a couple of extra times over those drawstring/strap ends. Finish the raw edges.
Turn right side out, fill with your stuff, and go!

If you make a backpack, please send me a photo or leave a link to a photo of your backpack in the comments!

4 comments:
Thanks Kim for the great tutorial. I really like this backpack and may try it for my grand-daughter/son. I have some really cute material that would work for all of them, and some old jeans that I cut up for a project last year. It is really a cute back pack. I remember the original post but I don't remember if you said who the charity is. I'll have to check the post I guess. Anyway Happy New Year and thanks for this cute tutorial.
I'm confused about the casing piece for the drawstrings. Does the backpack open at the drawstrings as well as the zipper or is there a seam at the top of the casings closing off the opening created when the drawstrings are extended?
Yes, it does open at the drawstrings as well as the zipper. The zipper closes the large front pocket, and the drawstrings close the main backpack area. Hope that helps!
This is such an inspiring tutorial for creating something useful from old jeans.
Post a Comment